


-
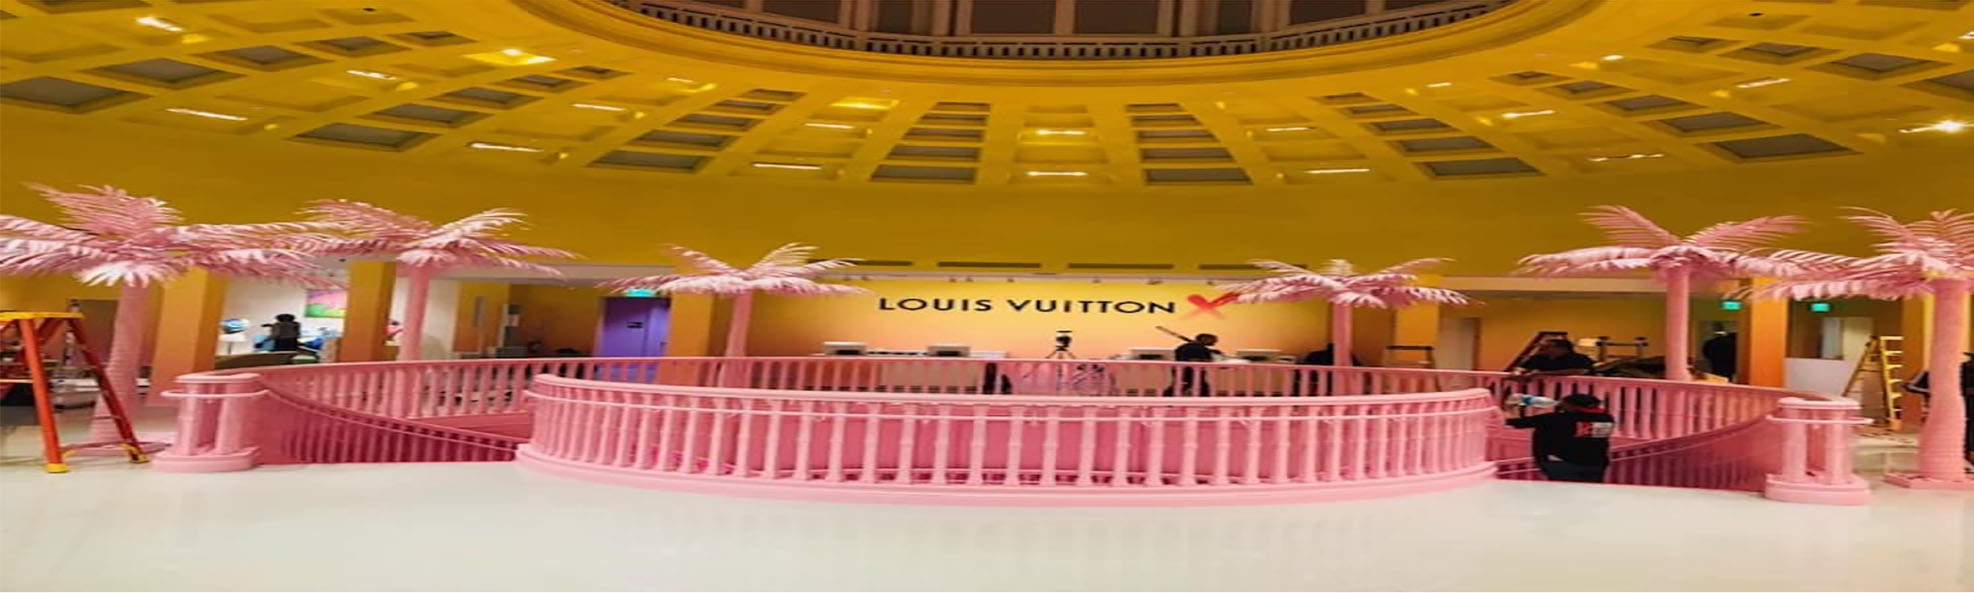
 Tropical Artificial Palm Trees > Plants>Thatch >Birds
-
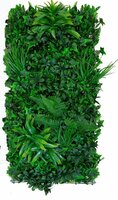 Faux Living Walls
-
 Fire Retardant Artificial Greenery
-
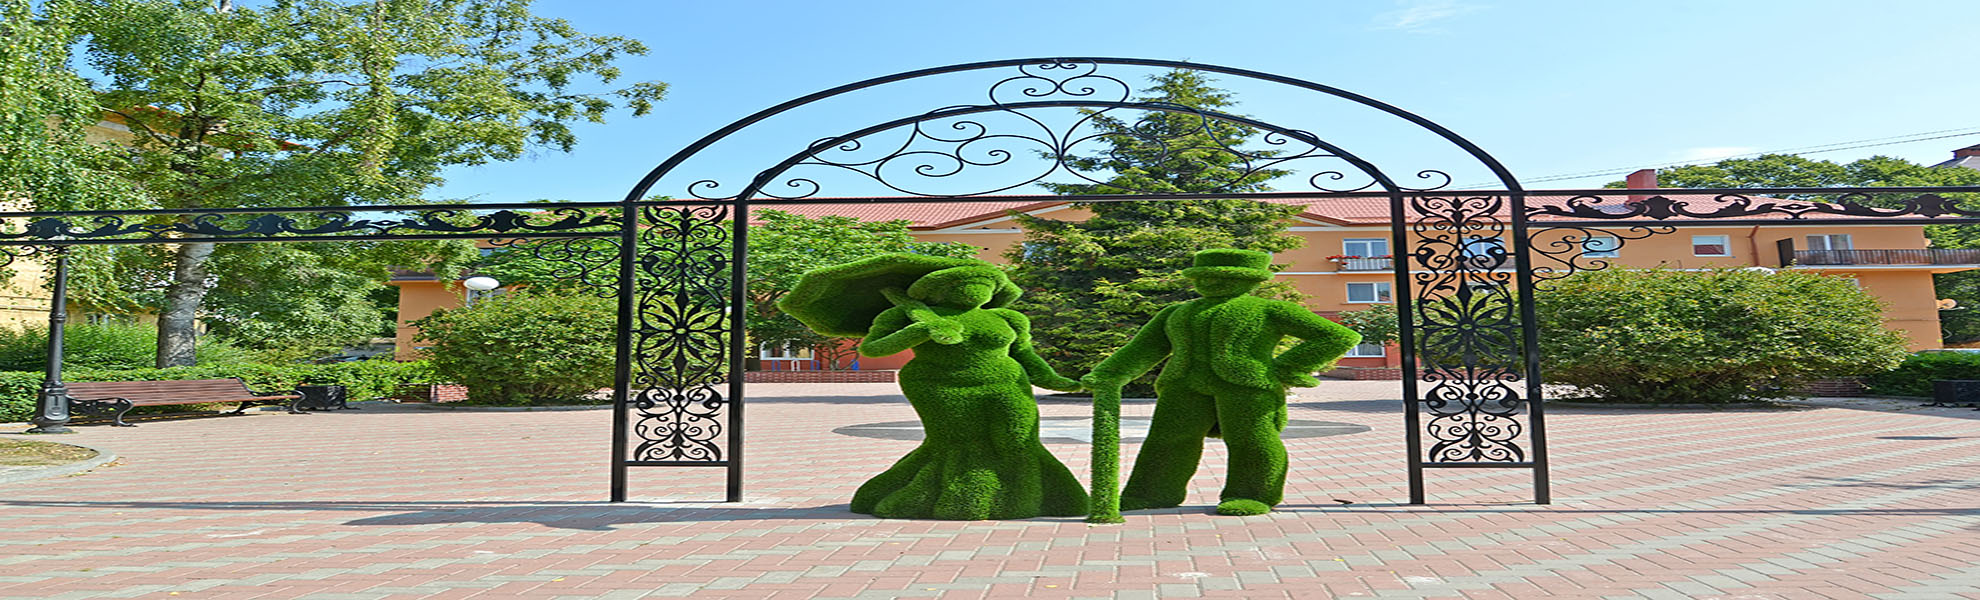
 Outdoor Artificial Palm> Trees> Topiary>Plants
-
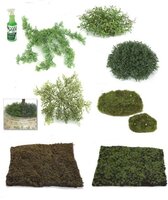
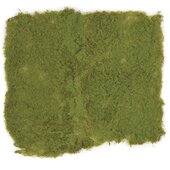 Preserved and Artificial Moss
-
 Artificial Cactus Succulents
-
 Wall Floor Artificial Grass Mats>Grasses>Bark>Rock
-
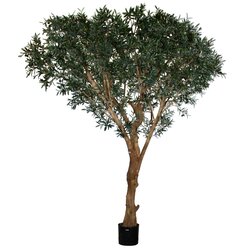
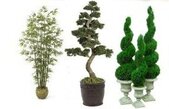 Artificial Trees >Topiary> Bonsai
-
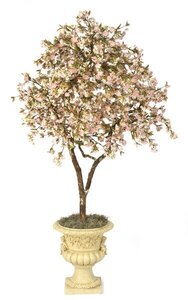
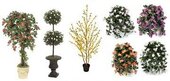 Fabulous Faux Flowering Collection
-
 Faux Palm Fronds >Tree > Twig Branches
-
 Lush Faux Greenery and Decor
-
 Artificial Fruits Vegetables Herbs
-
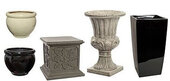 Planters Urns Columns Deco statues >Fountains
-
 Preserved Collection
-
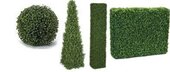 Artificial Boxwood Collection
-
 Silk Plant Cleaner> Moss Planter Toppers
-
 Halloween Faux Fall Decorations
-
 Artificial Christmas Trees> Garlands>Holiday Decor
-
 Potted Faux Silk Arrangements
-
 Rugs and Wall Decor
-
 Furniture
-
 Patriotic Wreaths and Topiary
-
 Special Offers
-
 Silk Trees


Featured products


Earthflora.com is the leader in the trade of artificial plants and trees custom made with your vision in mind. 1-877-252-1675 |1-440-899-4947 | Enter code : Enter code : SAVE5 to Save An Extra 5 % and Get free Shipping on Orders $100 or More Shipping Inland USA .